


Detailed Rendering Production Workflow: Modeling, Renderer Selection, and Delivery Acceptance Criteria
Rendering production is the process of converting a 3D scene into a 2D image through material, lighting, and render settings. It is mainly used for architectural visualization, product presentation, and design reviews. As of 2026, the mainstream pipeline pairs modeling software (3ds Max, Blender, SketchUp) with standalone renderers (V-Ray, Corona, Cycles) or real-time engines (UE5, Unity). Whether a deliverable passes depends on whether resolution, lighting realism, material detail, and file format meet the agreed standards.
What Is Rendering Production and Why a Standardized Workflow Is Needed
Rendering production is not merely "pressing a render button." It is a complete chain covering requirement analysis, modeling, materials, lighting, rendering, and post-production. A standardized workflow reduces rework, keeps schedules under control, and ensures consistency across multiple design variations. Especially in architectural and landscape projects, renderings often shape the client's first impression of the proposal. A chaotic workflow can lead to deliverables that miss review milestones.
A reusable workflow delivers three tangible benefits:
- Predictable working hours: Each phase has clear completion criteria, so you won't be adjusting materials at the last minute before delivery.
- Consistent output quality: Unified lighting and render presets prevent different designers from producing radically different styles.
- Easy iteration and revision: Scenes and assets are organized in layers, so client-requested changes can be quickly located and applied.
For example, a rendering of a 3,000-square-meter office building facade can be delivered within four working days from modeling to final output if the workflow is clear. Without presets, the project may require repeated trial and error, doubling the cycle time.
The Five-Step Rendering Production Workflow
Based on common delivery practices in 2026, a typical production process can be summarized as the "Five-Step Workflow." The order of these steps cannot be reversed, since the output of each step feeds into the next. A single still rendering usually takes 3–10 working days, depending on scene complexity, revision rounds, and renderer efficiency.
- Requirement confirmation and reference gathering: Clarify the purpose (review, approval, or print), collect CAD files and reference images, and determine camera angles and output resolution. Be sure to get client approval, otherwise changing the viewpoint later can be very time-consuming.
- 3D modeling and scene assembly: Build a white-box model from drawings, and use proxy models or preset libraries for the environment. Control the polygon count at this stage to avoid issues when adding materials later.
- Material and lighting setup: Set materials based on physical properties, and use HDRI or sunlight to simulate natural light. This is the key stage that affects realism and requires repeated testing.
- Render parameter setup and test rendering: Set sampling values and output resolution. Start with low-resolution test renders to confirm there is no noise or light leakage before rendering the final high-resolution image. Distributed rendering is recommended to speed up the process.
- Post-production and delivery: Adjust colors and add entourage in Photoshop, output standard file formats, and keep the PSD file for future edits.
Each step must have clear completion criteria. For example, the first step is complete when you obtain a signed requirement confirmation sheet. The second step is complete when the white-box model passes the designer's self-check and the polygon count is below the preset threshold. Without such criteria, the workflow is nothing but a formality.
Toolchain Selection: Renderers vs. Real-Time Engines
In 2026, the mainstream rendering approaches for production are offline rendering (V-Ray, Corona, Cycles) and real-time engines (UE5, Unity). They do not replace each other; you choose based on the output scenario.
- Offline rendering: Suited for static renderings that demand realistic lighting and material detail. Quality is high, but a single image can take from minutes to hours to render, and the cost of revision is significant.
- Real-time engines: Suited for interactive or quick-preview scenarios such as VR panoramas and web-based 3D displays. Images are generated quickly, but lighting and physical accuracy are usually lower than offline rendering.
The choice depends on the type of deliverable: if the client needs print-grade renderings, choose offline rendering; if the result will be viewed on a webpage or a mini-program, use UE5 or WebGL. Some projects use a hybrid approach: UE5 for preview animations and Corona for final stills. This requires the team to be proficient in both toolchains.
In terms of cost, offline rendering requires higher software licensing and hardware investment, and single-machine render times are long. Real-time engines have a gentler learning curve, but achieving the same visual quality demands more scene optimization. We recommend that teams decide based on their technical capabilities and project budget.
Delivery Standards and Acceptance Criteria
Whether a rendering is "acceptable" is not subjective—it comes down to verifiable metrics. Based on common industry practice in 2026, use the following checklist for acceptance:
- Resolution: At least 3200×1800 pixels for high-definition printing. The exact value is usually specified in the contract, with 4000×3000 being common.
- Color: Overall color temperature should be consistent. Highlights and shadows should not be blown out or crushed, and colors should have depth.
- Lighting and shadow: Shadow direction must match the light source. Reflections and refractions should show reasonable detail, with no light leakage or aliasing.
- Materials: Wood grain, stone, and fabric textures should have realistic proportions and no stretching.
- File formats: JPG for preview, TIFF or PNG for print, and layered PSD for future edits.
- Metadata: File names should include the project name and version number, avoiding unhelpful names like "final draft".
During acceptance, review the full image first, then zoom in on details. Calibrate colors on a professional monitor if possible. In addition, keep a record of revisions, so there is a reference when clients claim they requested changes verbally.
Common Mistakes and Causes of Rework
Rework in rendering projects is often not caused by the renderer itself, but by unclear definitions in the early stages. Here are the most common causes of rework and how to avoid them:
- Arbitrary camera angles: Framing is not set according to client requirements or the human eye height, leading to unbalanced composition. Fix the camera angle in the first step using camera-matching tools.
- Distorted proportions: Incorrect scales for interior furniture or exterior plants make the space look unnatural. Model with real-world dimensions and use asset libraries that match the project type.
- Too many lights: Adding multiple light sources blindly causes overexposure. Establish the key light first, use secondary lights only to fill, and apply physically based intensity values.
- Too-low render settings: Sampling is lowered to save time, producing noisy final images. Use at least medium-to-high sampling and use tiled rendering to avoid insufficient memory.
- Neglecting post-production: Delivering raw renders directly. Proper practice is to adjust color, add fog and depth of field in Photoshop to soften lighting.
Each of these points has a corresponding checkpoint in the workflow. By enforcing them at the right step, you can keep the rework rate low.
Suitable Scenarios and Limitations
Rendering production is suitable for scenarios that require static images for reporting and review, such as architectural design competitions, interior design presentations, product appearance reviews, and landscape planning. These scenarios need clear, accurate, printable images and do not require frequent changes.
It is not suitable for cases that require interactive viewing from multiple angles (use Web3D or VR), animated process displays (use animation rendering), or real-time design adjustments (communicate directly in the modeling software). Also, a low-budget single rendering may not justify the full five-step process; you can simplify it to three steps.
For projects in 2026, if the client expects predictable results and controlled schedules, and the materials and drawings are complete, rendering production is the right choice. However, if requirements change frequently, confirm the design before starting renders, otherwise time will be wasted on repeated rendering. If the project allows, you can first use a real-time engine to explore the design, and once it is confirmed, switch to offline rendering for the final large images. This balances efficiency and precision.
Actionable advice: First determine whether the project requires static display or interactive delivery, and then choose the appropriate toolchain. If delivery standards are unclear, specify resolution, revision rounds, and formats in the contract appendix. For small and medium projects that need integrated services, you can rely on a team with modeling and rendering experience, such as Xiyue Company, to handle the entire workflow from model to delivery.
FAQ
How long does it take to produce a rendering?
A single rendering typically takes 3–7 working days. Complex scenes can take up to 10 working days, including up to two rounds of revisions.
Are modeling and rendering the same role?
In small teams, the same person often handles both tasks. In large projects, the roles are separated into modeler and renderer to improve efficiency.
Which is better: offline rendering or real-time engines?
There is no one-size-fits-all answer. For static images with high precision, choose offline rendering; for interactive displays, choose real-time engines. It depends on the delivery requirements.
What are the common delivery formats for renderings?
Common formats include JPG for preview, TIFF/PNG for printing, and PSD for future modifications. Some teams also include the render settings file as an attachment.
-
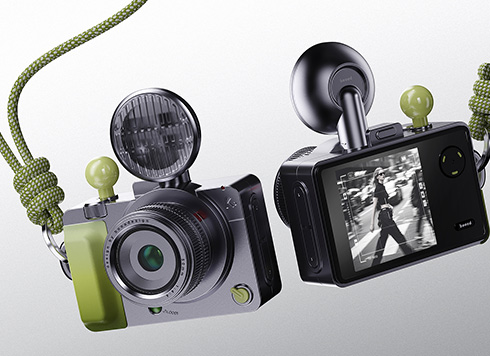 EDC·Trendy Camera Product Design: Form Follows Emotion
EDC Toy Camera: Braun-inspired retro design ...
-
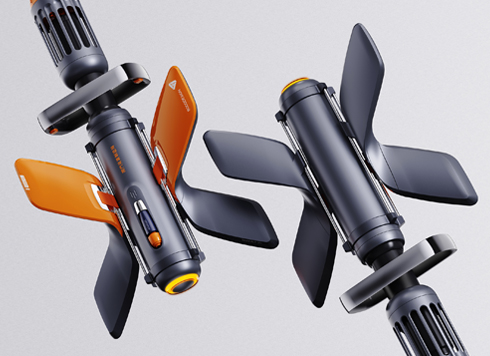 Product Design of Children's "Bubble Rocket" Underwater Thruster
Inspired by "Octonauts + Space", kids' "Bub ...
-
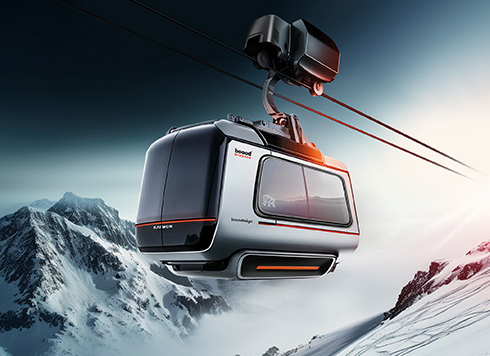 Design of Adaptive Intelligent High-Altitude Shuttle Transport Robot
Smart rural shuttle bot: Streamlined, weath ...
-
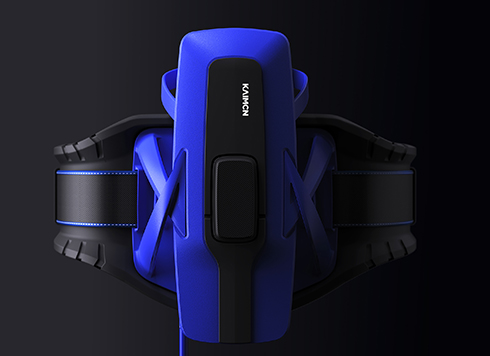 "Effortless" Exoskeleton Wear: Unleash Ultimate Freedom in the Sea
"Unfelt Wearability" & "Bionic Power" redef ...
-
What Are the 2026 Acceptance Standards for Slow and Rework-Prone 3D Rendering Delivery?
Date: Aug 15, 2026 Read: 77
-
How long does rendering production take, and why do quotes differ? Which stage—modeling or rendering—determines rework?
Date: Aug 26, 2026 Read: 55
-
Repeated Rework in Rendering Production: Is the Problem Modeling or Rendering?
Date: Aug 13, 2026 Read: 66
-
Complete Guide to 3D Aerial View Rendering: Workflow and Delivery Standards
Date: Jul 28, 2026 Read: 76
-
Comprehensive Guide to Product Appearance Design: 3D Modeling and Rendering Workflow
Date: Jul 24, 2026 Read: 91