


How to Create Renderings: Workflow, Tools, and Delivery Standards
Rendering is the process of converting 3D models, materials, and lighting setups into high-fidelity images or animations via a renderer. In 2026, two common paths exist: using offline renderers like V-Ray or Corona for photorealistic stills, or using real-time engines such as UE5 or Twinmotion for speed and interactivity. When evaluating rendering quality, focus on three key indicators: realistic light logic, clear material detail, and whether the output format fits the intended use case.
1. What Is Rendering and Why Does It Determine Delivery Quality?
Rendering is a critical stage in 3D visualization. It turns structural models into images with realistic lighting, materials, and spatial depth, serving as the direct basis for design reviews, client presentations, and product showcases. In typical project delivery workflows in 2026, rendering accounts for 30%–50% of the entire production cycle. A well-planned rendering approach therefore directly impacts turnaround efficiency and client satisfaction.
Rendering is not as simple as "pressing a button at the end." It requires coordinated handling of mesh topology, UV unwrapping, material mapping, light placement, render settings, and post-color correction. Any deviation in one of these steps can cause quality issues such as "unrealistic results" or "blurry details."
- Renderings for bid presentations should emphasize composition and atmosphere;
- Renderings for product displays should highlight material detail and proportion;
- Bird's-eye views for landscape planning should focus on the overall environment and greenery layers.
2. Standard Rendering Workflow: The Five-Step Method
Based on the mainstream toolchains and team collaboration habits in 2026, we recommend the "Five-Step Method": model cleanup → material and lighting → test render → final render → post-production. These steps should be performed in order, but note that material/lighting and test rendering often require iterative loops rather than a single pass.
- Model cleanup: Check whether the model is watertight, normals are correct, and remove extra vertices and overlapping faces. Skipping this step often leads to black faces or broken surfaces in later renders.
- Material and lighting: Apply PBR materials and set key, fill, and supplementary lights following real physical light logic. We recommend tuning base materials first, then fine-tuning lights to avoid rework.
- Test render: Quickly produce a low-resolution, low-sample image to check composition, exposure, material reflections, and shadows. Record issues and adjust parameters at this stage.
- Final render: After confirming the test image, set output resolution, sample count, frame buffer, and other parameters. In 2026, it is common to use cloud rendering services to reduce local queue time to a few hours.
- Post-production: In Photoshop, DaVinci Resolve, or similar software, adjust levels, saturation, depth of field, or add entourage, then output formats suitable for screen display or print.
The core value of this workflow is moving uncertainty to the test stage, rather than discovering problems after the final render. The pass criterion for each step is that its output can be used directly by the next step without additional rework.
3. Offline Rendering vs. Real-Time Engines: Selection Comparison
Rendering often refers to offline rendering, but in 2026 many projects also use real-time engines. The core difference is a trade-off between time and quality. Offline renderers (e.g., V-Ray, Corona) simulate global illumination and physical camera characteristics, producing finer reflections and refractions. Real-time engines (e.g., UE5, Twinmotion) leverage GPU real-time computation, making them suitable for rapid iteration and dynamic presentations.
- Offline rendering: Best for projects requiring high-precision stills, such as architectural bid proposals, interior renderings, and product design. A single image typically takes 1–3 hours to render; the full project cycle ranges from 2 to 7 working days depending on scene complexity.
- Real-time engine: Best for projects needing quick previews, scene linking, or VR walkthroughs, such as design exploration and interactive displays. Frame output is nearly real-time, but lighting and material realism still require manual tuning and may not immediately reach photorealism.
When choosing, base your decision on whether the deliverable is a single image or an interactive scene. If the final deliverable is a static image with high fidelity requirements, prioritize offline rendering. If it includes real-time interactivity or video animation, use a real-time engine instead of trying to simulate it with offline rendering.
4. Acceptance Criteria and Common Reasons for Rework
A qualified rendering should meet three acceptance dimensions: resolution and clarity, realistic lighting and materials, and information completeness. Resolution must match the use case—for example, a printed poster requires at least 300 dpi, while a mobile screen needs only 1920 px width. For lighting, check that shadow directions are consistent, highlights are not blown out, and reflections are plausible. Information completeness means no missing geometry, correct material mapping, and well-scaled entourage.
Rework typically stems from three causes: (1) open models or incorrect normals, resulting in black faces; (2) insufficient lighting planning, causing dark scenes or color distortion; (3) improper material parameters—for example, using zero-roughness stainless steel on a wall. In practice, all these issues can be caught early during the test render stage.
- Zoom in to 200% during acceptance to check for jagged edges or UV stretching;
- Use a histogram to confirm that highlights and shadows are not severely clipped;
- Compare with real photos, paying attention to the physical characteristics of reflections, shadows, and depth of field.
5. Applicable Scenarios and Boundaries of Rendering
Rendering is suitable for scenarios that require high-fidelity static images, including architectural bid proposals, interior design presentations, e-commerce product hero images, and landscape planning. In these contexts, clients care about whether the image is realistic, attractive, and clearly communicates the message.
However, rendering is not suitable when the project requires extensive interactivity, real-time camera switching, or user-driven scene manipulation. In 2026, such needs are typically handled by UE5, Unity, or web 3D technologies, such as mini-program 3D showcases or VR panoramic walkthroughs. Therefore, confirming whether the deliverable is an "image" or an "interactive application" before project kickoff helps avoid wrong tool selection.
Rendering is ideal for static, high-fidelity, one-way visual output; it is not suitable for real-time interaction, dynamic simulation, or program-driven 3D experiences. Mixing the two approaches often results in high cost and low efficiency.
FAQ
1. How long does rendering take, and how is pricing estimated?
A single rendering typically takes 2–5 working days from model confirmation to delivery. Pricing mainly depends on scene complexity, resolution, and the number of revisions; it can be billed per image or per day.
2. Are modeling and rendering the same job role?
In larger teams, they are separate: modelers handle geometry, while render artists handle materials, lighting, and image output. In small teams or freelance settings, one person often handles both.
3. How do I choose between offline rendering and real-time engine rendering?
Choose offline rendering for static, high-fidelity images; choose real-time engines for interactive or dynamic presentations. If requirements change, you can start with static output and later consider importing into a real-time engine for supplementary use.
4. What file formats are typically used for rendering delivery?
Standard deliverables are JPG or PNG; use PNG or TGA for transparent backgrounds; TIFF for print; and PSD or EXR if layered files are required.
Before starting a rendering project, confirm whether the deliverable is a static image or interactive media, and select your toolchain accordingly. For static renderings, follow the Five-Step Method, paying close attention to model quality and lighting tests. If the project includes interactivity or animation, switch to a real-time engine workflow. For complex deliveries, you can contact Xiyue Company for support; however, in most cases, understanding the standards above will help you avoid most rework.
-
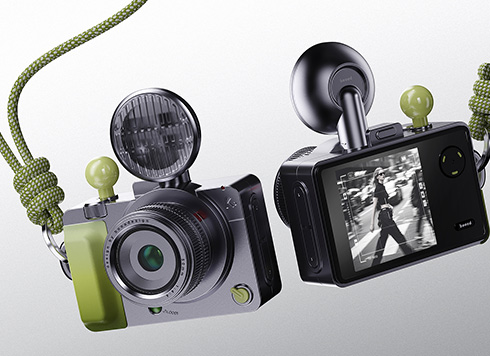 EDC·Trendy Camera Product Design: Form Follows Emotion
EDC Toy Camera: Braun-inspired retro design ...
-
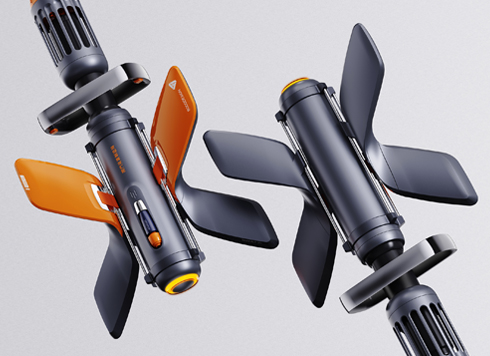 Product Design of Children's "Bubble Rocket" Underwater Thruster
Inspired by "Octonauts + Space", kids' "Bub ...
-
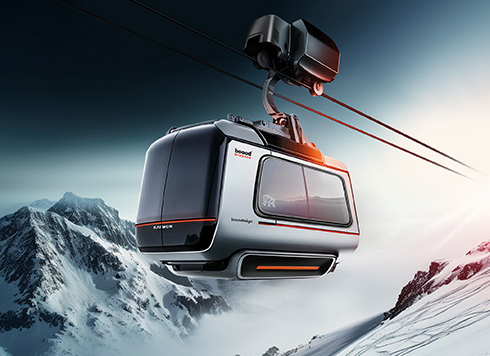 Design of Adaptive Intelligent High-Altitude Shuttle Transport Robot
Smart rural shuttle bot: Streamlined, weath ...
-
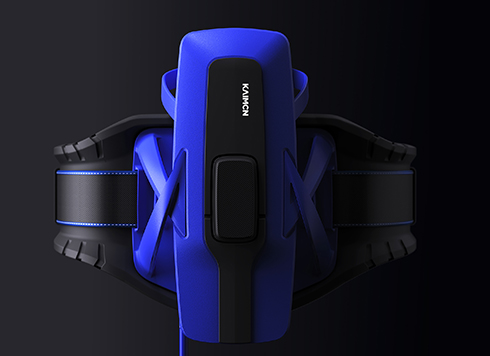 "Effortless" Exoskeleton Wear: Unleash Ultimate Freedom in the Sea
"Unfelt Wearability" & "Bionic Power" redef ...
-
Renders look washed out with crushed shadows — which step usually goes wrong first?
Date: Sep 10, 2026 Read: 107
-
Factory Building Landscape Planning 3D Modeling and Rendering: How Long Is Delivery? Where Does Rework Often Get Stuck?
Date: Aug 31, 2026 Read: 108
-
Rendering Keeps Getting Revised: Is the Main Issue Modeling or Materials and Lighting?
Date: Aug 28, 2026 Read: 101
-
What Are the 2026 Acceptance Standards for Slow and Rework-Prone 3D Rendering Delivery?
Date: Aug 15, 2026 Read: 103
-
Complete Guide to 3D Aerial View Rendering: Workflow and Delivery Standards
Date: Jul 28, 2026 Read: 109