





Landscape Design 3D Modeling: Paths Floating and Step Counts Not Matching — Is the Vertical Sequence Reversed From the Start?
Conclusion: In landscape design 3D modeling, when garden paths and terrain elevations don't match, the common cause isn't model precision — it's that the vertical sequence was done backwards. Based on 2026 project delivery experience, a reasonable order is to define vertical control points first, then connect the paths, then do planting, paving, and lighting; if you lay the road network first and patch the terrain afterwards, paths tend to float, cut into slopes, or drain the wrong way. To decide whether to change the path or the terrain first, look at where the elevation difference comes from, the path's hierarchy level, and on-site measured evidence.
When garden paths and terrain elevations don't match, where do things usually get stuck?
Vertical design is the skeleton of a landscape 3D model: paths, plazas, green areas, and water bodies all hang on the same set of elevations. Common mismatches: the CAD general plan has plane coordinates but no elevations; photos show retaining walls and steps, but the model shows a gentle slope; the path is flattened to its design elevation while surrounding terrain stays on original contours. These all tend to surface at the rendering stage.
- Garden paths float or sink, and curbs don't meet the green areas
- Step counts don't match, and ramp gradients are too steep or too gentle
- Drainage direction is reversed, with the catchment point landing at a building entrance
- Tree pit elevations clash with paving
- Retaining wall heights don't match on-site photos
Elevation mismatches aren't just a visual issue — they affect drainage, planting soil depth, and later setting-out. A rendering that looks smooth doesn't mean it can be built; walking through it in real-time is more likely to expose gradient and sightline problems.
Change the path first or the terrain first? Look at three criteria
You can't judge the sequence on feel alone. Look at three criteria first: who set the elevation difference, what hierarchy the path has, and whether there is on-site measured data. If the elevation difference comes from a confirmed general plan or measured data, terrain takes priority; if the path is only a schematic direction, the route can follow the terrain.
- Source of elevation difference: Confirmed CAD, measured elevations, and planning vertical drawings take priority; photos help judge retaining walls and on-site relationships.
- Path hierarchy: Main garden paths, fire lanes, and accessible ramps usually have their route fixed first with terrain adjusted after; branch paths, stepping stones, and gravel trails can follow terrain undulation.
- On-site evidence: With photos of retaining walls, steps, and drainage outlets, check elevation nodes first, then decide which side gives way.
In practice, main paths are fixed first and terrain follows; natural-style garden paths have terrain defined first and the path fitted afterwards. Avoid major changes on both sides at once, or planting and paving will need to be re-laid.
A checkable vertical design sequence
Separating vertical design, road network, planting, paving, and lighting is meant to give each step its own basis and reduce rework from mixing modeling and rendering together. This order isn't a fixed dogma, but most projects follow it and end up with a shorter revision chain.
- Vertical control points: Import contours or elevation points, and determine the site datum elevation, building zero level, normal water level, and revetment top elevation.
- Road network and gradients: Grade by main paths, branch paths, steps, and ramps; check longitudinal slope, cross slope, and turning radius, ensuring passability first.
- Planting: Place trees, shrubs, and groundcover in layers; check tree pit elevations, planting soil depth, and canopy relationships.
- Paving and edging: Paving follows terrain with fading transitions or steps; curbs, drainage channels, stepping stones, and green area edging align.
- Materials and lighting: Give water, paving, metal, and glass different reflection parameters; set lighting by sun direction and atmosphere, then produce renderings or real-time scenes.
The first three steps determine whether the model is usable; the last two determine whether the image looks right. A common mistake is doing materials and lighting too early — once the terrain changes, textures and lighting all have to be redone.
At delivery: the cost of rework when assets are incomplete and deadlines are tight
A common situation: the client provides only one CAD general plan and a few phone photos, the deadline is squeezed into five to seven working days, and they still want two aerial views and a walkthrough. The usual approach is to pull terrain and paths from the CAD first, then add planting and paving. But if the photos show a retaining wall and the CAD has no elevations, doing it as a flat slope means the client points out the elevation is wrong after rendering, and both paths and tree pits have to be re-laid — rework typically takes about 30 to 50 percent of the modeling schedule (experience range). Checking elevation nodes before delivery saves more time than changing materials afterwards.
Lighting and materials also amplify elevation problems. If the water surface is built as flat, once the terrain changes, reflections and the revetment line are all off; if paving textures are laid with plane UVs, they stretch as soon as a ramp appears. A common practice is to do a wireframe or clay-model walkthrough before rendering, confirm the vertical relationships, then apply materials.
Rendering vs. real-time engines: timelines and boundary comparison
Landscape 3D delivery commonly has two paths: rendering and real-time engines. Which to choose depends on whether the client wants report images and printed boards, or interactive walkthroughs for web or mini-program display. The model foundation can be shared, but the optimization directions differ.
- Rendering: Suitable for scheme reporting, approvals, and printing. Typical timeline: about 1 to 3 working days for a single image, about 5 to 10 working days for a set including aerial and perspective views (experience range). Common deliverables are JPG and TIFF, with resolution back-calculated from output size.
- UE5 real-time engine: Suitable for interactive walkthroughs, VR panoramas, and web 3D embedding. Typical timeline: about 2 to 4 weeks for a medium scene (experience range), including optimization and testing. Common deliverables are packaged applications, WebGL packages, panoramas, or videos.
- Cost difference: Static renderings are priced per image or per set, while real-time projects are usually quoted by scene complexity, interactive features, and debugging timeline; the price gap is commonly several times, depending on polygon count, materials, and platform.
- Revision cost: Changing composition and lighting in renderings is relatively direct; changing interaction logic or collision in real-time projects often brings testing along, making the revision chain longer.
If you only need to review overall plan relationships, there's no need for a real-time engine; if the client wants to rotate views on a phone and tap tree species for information, static renderings aren't enough. Conversely, if only three to five days are given and interactive walkthroughs are required, precision or scene props usually have to be compressed — you can't have everything.
Applicable boundaries and acceptance criteria
Suitable for: sites with obvious elevation differences, complex connections between paths and building entrances, reporting drainage and sightline relationships, and later rendering or real-time walkthroughs. For massing studies and concept communication in the scheme stage, 3D models can reduce problems that plan drawings can't explain clearly.
Boundary statement: If the elevation difference is within two or three steps and the path is only a schematic direction, there's no need to build a separate detailed terrain model; when the site is basically flat, only planting layout is shown, and budget and timeline are very tight, a colored plan plus reference photos can also explain the issue.
Acceptance isn't about how high the model's polygon count is, but whether the vertical relationships are self-consistent. Check against a list: paths don't float or cut slopes; step and ramp gradients meet project requirements; tree pits, paving, and drainage outlet elevations match; aerial viewpoints and eye-level heights are reasonable.
- Path-terrain seams: no visible floating or intersections; compare key nodes with sections.
- Gradients: check main path longitudinal slope and accessible ramp gradients against project specifications; a common practice is to first confirm passability.
- Planting: tree canopy distances from buildings and power lines are reasonable, and tree pit elevations are not higher than paving.
- Materials and lighting: water reflections, paving seams, and shadow directions are consistent.
- Deliverables: model, textures, renderings, and packaged files are delivered in agreed formats and naming conventions.
Common rework causes: treating CAD with no elevations as a flat slope; applying materials before changing terrain; planting all scene props at once so everything has to be re-laid when terrain changes; real-time projects without collision testing, so walkthroughs pass through walls or fall out of the scene.
FAQ
How long does landscape design 3D modeling usually take?
Based on 2026 delivery experience, a single scene from modeling to rendering commonly takes 5 to 10 working days; with real-time interaction and debugging, about 2 to 4 weeks, depending on elevation complexity, scene prop count, and revision rounds.
Where do landscape design 3D modeling quotes differ?
Quotes usually differ by modeling precision, terrain and path complexity, planting and scene prop counts, rendering method, and revision rounds; the price gap between static renderings and real-time engines is commonly several times, and needs to be checked against a scene list.
What delivery formats are usually provided?
Static deliverables commonly include JPG, TIFF, and layered PSDs; real-time projects commonly include UE5 packaged applications, WebGL packages, panoramas, or walkthrough videos, confirmed by platform and acceptance checklist.
The elevation difference isn't large, but the render looks like flat ground — where should I check first?
Check camera height and focal length first, then whether terrain undulation is flattened by planting props; a common practice is to lower the viewpoint, keep slope-direction shadows, and let paths and paving follow the elevation difference.
If the project has clear elevation differences and complex path-to-building-entrance connections, verify vertical control points, path gradients, and drainage direction first, then arrange planting, materials, and lighting; if it's only a flat site layout or the budget and timeline are very tight, a colored plan can replace 3D. Checking item by item against the delivery acceptance checklist will greatly reduce revisions.
-
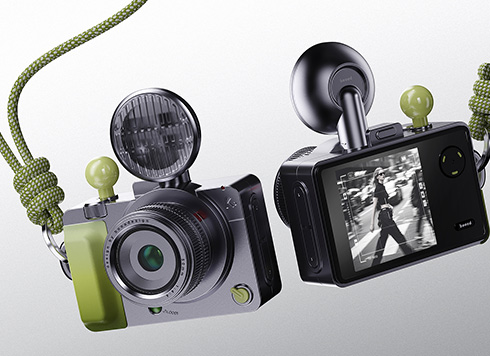 EDC·Trendy Camera Product Design: Form Follows Emotion
EDC Toy Camera: Braun-inspired retro design ...
-
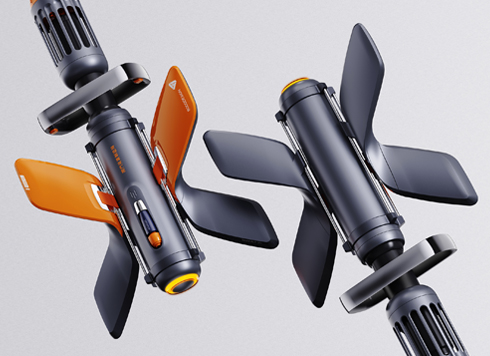 Product Design of Children's "Bubble Rocket" Underwater Thruster
Inspired by "Octonauts + Space", kids' "Bub ...
-
 Design of Adaptive Intelligent High-Altitude Shuttle Transport Robot
Smart rural shuttle bot: Streamlined, weath ...
-
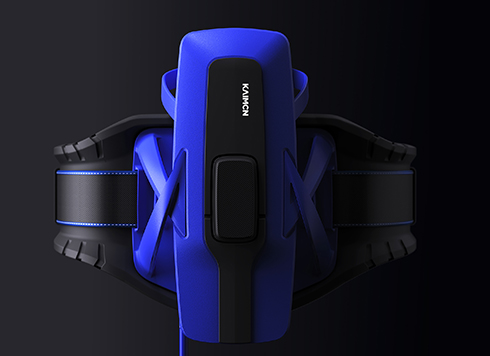 "Effortless" Exoskeleton Wear: Unleash Ultimate Freedom in the Sea
"Unfelt Wearability" & "Bionic Power" redef ...
-
In landscape design 3D modeling, why can the client tell at a glance that library trees look pieced together?
Date: Sep 13, 2026 Read: 66
-
Why does mini-program 3D start smooth on a budget Android phone but get hot and drop frames after two minutes?
Date: Oct 14, 2026 Read: 7
-
In product demo animation, prototype still frames look premium, but the final video moves like PPT slides—should you add motion previews first or increase render precision?
Date: Oct 13, 2026 Read: 10
-
In web 3D, glass curtain walls and railings flicker at oblique angles—should you merge coplanar geometry first or adjust the camera near/far clipping planes first?
Date: Oct 12, 2026 Read: 18
-
Three.js 3D Animation on a Showroom Touchscreen: Can It Stay Stable for a Full Day Offline Without Restart?
Date: Oct 11, 2026 Read: 25