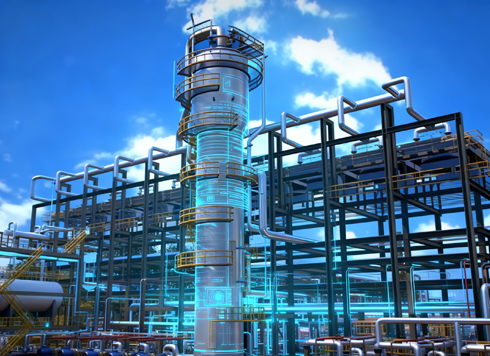




Industrial Building Landscape Planning and Design: A Practical Guide from Modeling to Delivery
Why Does Industrial Building Landscape Planning and Design Require Professional 3D Modeling and Rendering?
In projects such as industrial plants, logistics parks, and technology parks, the integration of architecture and landscape design is receiving increasing attention. Traditional 2D drawings struggle to intuitively present spatial relationships, plant configurations, lighting changes, and other details, while 3D modeling and rendering technology can visualize design intent, expose problems early, and reduce rework costs. However, many designers face practical challenges: how to balance model accuracy and performance? How to achieve both rendering quality and realism? How to standardize delivery standards? This article focuses on industrial building landscape planning and design and breaks down the key points of the entire process from a practical perspective.
Step 1: Requirements Analysis and Preliminary Planning
Any efficient modeling begins with a clear decomposition of requirements. Before starting, it is necessary to clarify:
- Project positioning: Is it for concept presentation or construction detailing? Different uses lead to significant differences in model detail and rendering level.
- Site conditions: Obtain basic data such as CAD master plans, terrain elevation data, and surrounding environment photos.
- Landscape elements: Identify the building units, roads, squares, water systems, plant configurations, and small features that need to be modeled.
- Style reference: Collect case images of similar factory landscape styles to determine the overall color tone and atmosphere.
It is recommended to use a mind map or Excel spreadsheet to list all model elements, marking priorities (must-build/optional) to avoid extensive rework later. For example, the main factory building is a high-precision object, while distant street trees can be replaced by proxy objects.
Step 2: Software Tool Selection and Workflow Setup
Mainstream Tool Recommendations
- Modeling phase: 3ds Max / SketchUp / Blender. For factory buildings, 3ds Max is commonly used with CAD import; for landscape, SketchUp is more efficient for plant placement and terrain editing; Blender is suitable for teams seeking a full open-source workflow.
- Rendering engine: V-Ray / Corona / Lumion / Twinmotion. For photorealistic stills, choose V-Ray or Corona; for quick animations or VR presentations, choose Lumion or Twinmotion.
- Supporting tools: AutoCAD (base map), Photoshop (post-processing), SpeedTree (plant modeling), Forest Pack (batch planting plugin).
General Workflow
- Import the CAD base map into the 3D software and align coordinates.
- First create hardscape (buildings, roads, paving), then softscape (terrain, water, plants).
- Manage by layers: building layer, road layer, vegetation layer, feature layer, lighting layer, for easy later adjustments.
- Create proxies/instances: Use instance copies for the same types of trees, streetlights, and benches to reduce memory usage.
Note: Do not start with high-precision plants. First use simple boxes or spheres to indicate positions and heights, and refine after confirming the layout.
Step 3: Detailed Modeling Techniques
3.1 Factory Building Modeling
- Structural accuracy: Build exterior walls, roofs, canopies, doors, and windows based on CAD elevation drawings, paying attention to details such as eaves, steps, and canopy overhang length.
- Material differentiation: Common factory materials include color steel plates, concrete, glass, and metal louvers. Differentiate with colors during modeling, and assign later via material IDs with one click.
- Detail handling: Small features like downspouts, air conditioning units, and LOGO signage often impact realism.
3.2 Landscape Modeling
- Terrain creation: Use the terrain tools in 3D software or import elevation points to generate a mesh, then add subdivision and smoothing. Manually adjust gently sloping green spaces.
- Roads and plazas: Draw paths according to axis relationships, paying attention to turning radii, height differences between pedestrian and vehicle lanes, and curb thickness.
- Plant configuration: First define the tree-shrub-grass hierarchy. Use SpeedTree or preset models for trees, noting the relationship between crown height and human sightline; use scattering plug-ins for shrubs and lawns.
- Water bodies and features: Add chamfers to pool edges, use transparent + reflective materials; model benches, sculptures, and lights to actual dimensions.
3.3 Common Issues and Solutions
- High polygon count causing lag: Use proxy display, collapse history, delete back faces not visible. Keep plant models to 1,000-5,000 faces per tree.
- Unbalanced scene proportions: Frequently switch between top view and perspective view, comparing reference objects (e.g., place a standard human model as a scale).
- Stiff plant placement: Avoid equidistant arrays; manually adjust rotation, scale, and position offset for each plant to simulate natural growth.
Step 4: Core Strategies for Rendering and Output
4.1 Lighting Setup
- Outdoor scenes: Use HDRI environment maps to simulate real skies, with VRaySun or CoronaSun as the main light source. Enable area shadows if shadows are too harsh.
- Fill lighting: Use rectangular lights or dome lights to fill the shadowed areas of buildings and landscape, avoiding pure black.
4.2 Material Tuning
- Concrete: Add noise and bump maps, keep reflection value between 0.2-0.4.
- Glass: Use physical materials, with color for transmission and Fresnel control for reflection.
- Water: Add wave texture, enable both refraction and reflection, with slight transparency.
4.3 Rendering Parameters and Post-Processing
- Still image output: Recommended resolution of at least 4000 pixels, sampling value according to engine (e.g., V-Ray set to 1500-2000), enable denoising.
- Channel maps: Render Z-depth, material ID, and object ID simultaneously for easy depth of field adjustment and color grading in Photoshop.
- Compositing optimization: Enhance contrast and saturation in Photoshop, add background blur, glare, and human figures (mind copyright).
Tip: If the project requires multiple angles, use batch rendering scripts to output all camera views at once.
Step 5: Delivery Standards and Project Case Reference
Deliverables List
- Original model files: Preserve layers, materials, lights, and cameras; clean up unnecessary edges and faces.
- Raw renderings: Should be uncompressed 16-bit TIF or PNG format.
- Post-processed images: JPG/PNG with PSD layered files attached.
- Others: Walkthrough animation (if any), VR panorama (HTML output or cloud link).
Case Brief (Anonymized)
A new energy factory project in a coastal city in eastern China, covering 80 mu (approx. 5.3 hectares), including factory buildings, office buildings, canteens, and surrounding greenery. The Xiyue Company team used a 3ds Max + V-Ray workflow. In the early stage, they communicated a 5-level detail standard (LOD) with the client, and finally delivered static bird's-eye views, human-eye perspective renderings, and a 3-minute walkthrough animation. The landscape part specially included seasonal change simulations, helping the client intuitively understand the greening effects in different seasons, which was well received.
The processes and methods outlined in this article are based on practical experience. Industrial building landscape planning and design 3D modeling is not an isolated "drawing" task but requires an integrated presentation combining architecture, planning, and botanical knowledge. It is recommended that designers prepare a requirements list and model management standards before project initiation, choose a suitable software combination, and continuously accumulate material libraries and proxy model libraries. If you are preparing a related project or wish to obtain more efficient modeling and rendering solutions, you can further communicate with professional teams. For example, Xiyue Company has mature cases in architectural visualization and can provide customized suggestions.
-
 3D Cartoon Character Design and Modeling by Xiyue Company
Xiyue Company created a unique 3D cartoon r ...
-
 EDC·Trendy Camera Product Design: Form Follows Emotion
EDC Toy Camera: Braun-inspired retro design ...
-
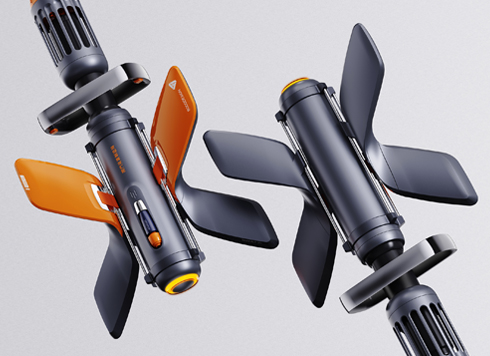 Product Design of Children's "Bubble Rocket" Underwater Thruster
Inspired by "Octonauts + Space", kids' "Bub ...
-
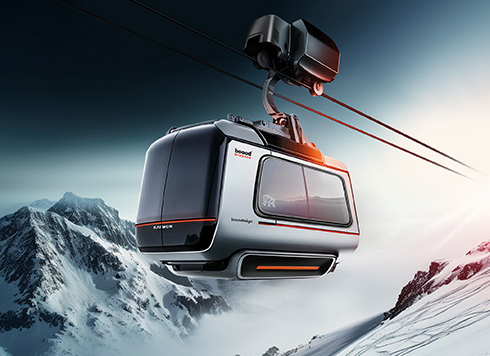 Design of Adaptive Intelligent High-Altitude Shuttle Transport Robot
Smart rural shuttle bot: Streamlined, weath ...
-
Landscape Design 3D Modeling & Rendering Full Guide: Tool Selection & Acceptance Criteria
Date: Jul 26, 2026 Read: 106
-
3D Modeling and Rendering Efficiency Doubled: Practical Strategies to Overcome Bottlenecks
Date: Jul 7, 2026 Read: 118
-
How to Do 3D Modeling and Rendering for Landscape Design? 2026 Complete Workflow and Delivery Standards Guide
Date: Aug 11, 2026 Read: 99
-
UE5 Rendering Full Workflow Guide: Practical Methods from Modeling, Materials to Delivery
Date: Aug 4, 2026 Read: 133
-
Complete Guide to 3D Aerial View Rendering: Workflow and Delivery Standards
Date: Jul 28, 2026 Read: 109